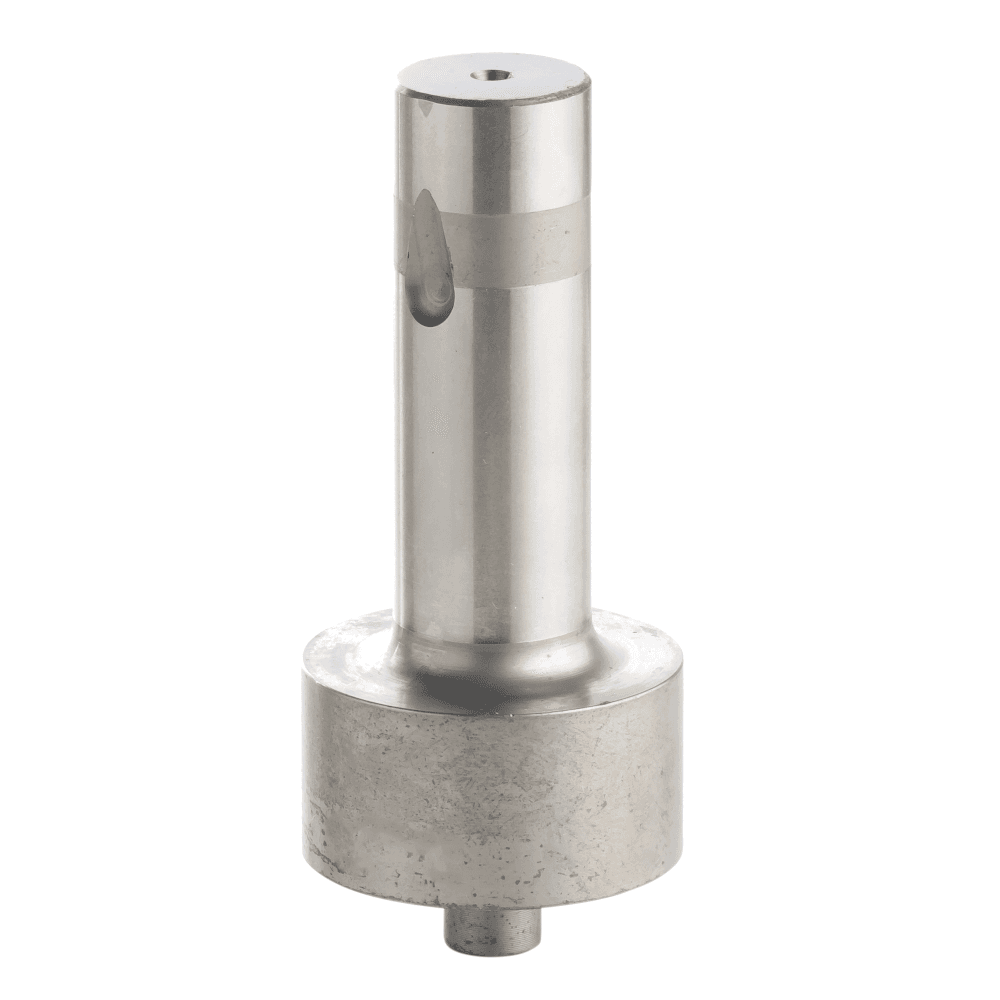
Ball-lock punches for heavy duty with point larger than shank P_-BKNB / P_-BKN_
Ball-lock punches for heavy duty with point larger than shank P_-BKNB / P_-BKN_
The P_-BKN_ ball-lock punch for heavy duty with point larger than shank is fastened with a ball in the tool for quick removal. The wide end means that the body can be lower than the diameter of the working part. The punch is able to withstand heavy loads thanks to the ball diameter 10/12mm. The ball-lock punches are mounted in a tool to cut, bend or form sheet. We are machining our punches following your needs or drawing. They are also available as blank.

Specifications
Material :
- Material A : High-speed steel HWS / 1.2379 / D2 / X155CrVMo12.1
- Material B : High-speed steel HSS / 1.3343 / M2 / HS 6.5.2 / Z90
Standard : ISO 10071 / NF E63-102
Dimensions :
- Diameter : from 32mm to 40mm
- Length from 71mm to 80mm
Ball fixing Ø10-12mm.
Available shapes : Available as a blank or following our 6 standards catalog shapes. Others shapes can be made as special.
Coating : Standard coating : TIN, Alcrona (AlCrN), TICN, CrN, t-ac.
Other coating on request.
Hardness :
- Material A :
Body 58 - 62 HRc
- Material B :
Body 60 - 64 HRc
Benefits :
- The ball-lock range allows quick removal of the punch without having to touch the punch retainer. The disassembly is performed with a ball pushing tool reducing the tools downtime.
- Possibility to cut large shapes in a small footprint.
- Heavy load range can withstand heavy pulling and un-pulling forces.
- All our punches are engraved to your specifications for quick identification.
Tolerances :
- Body tolerance g5
- Length tolerance +1/0
- Shape tolerance ± 0,01
Conception :
- The ball-lock fixing is machined.
- The body and shape are grinded with high precision.
Target application
Ideal for press tools or injection moulds.
Recommendations for use :
- Mounting : The ball-lock punch is mounted in a ball-lock punch-retainer.
- Cutting clearance : We recommand a cutting clearance between the die button and the punch corresponding to 10% of the thickness of the sheet being cut. (except special applications).
Maintenance recommendations :
- Regular cleaning
- Regular inspection
- Checking alignment with the die
- Regular lubrication
To order you need to indicate :
- The desired dimensions
- Desired shape (except for blanks)
- Shape dimensions (except for blanks)
- The desired coating
- Shape orientation
- Standard alterations
Example : PB-BKNL-16-71-20-P12.5-W8-R2T0-TIN
Technical data
3D Model
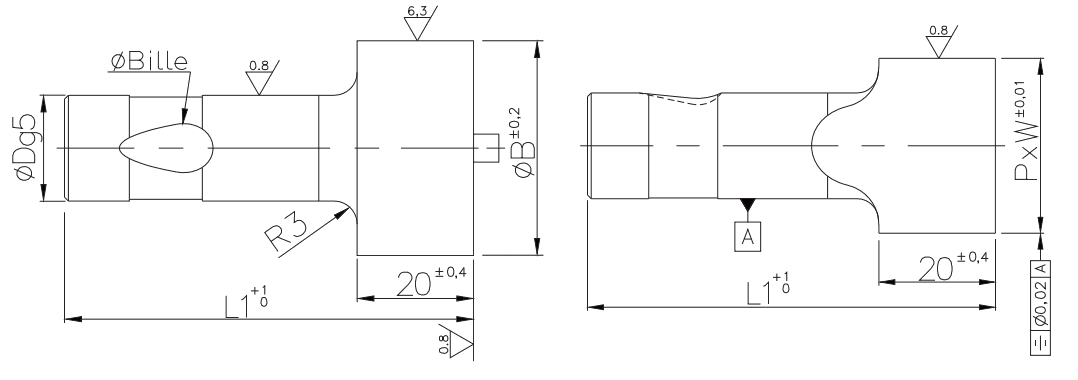
Plan
L : Punch length
Dg5 : Body diameter tolerance g5
L2 : Working length for shaped punches
Ø Bille = 10/12mm
P x W : Shape dimensions


