Punches and dies
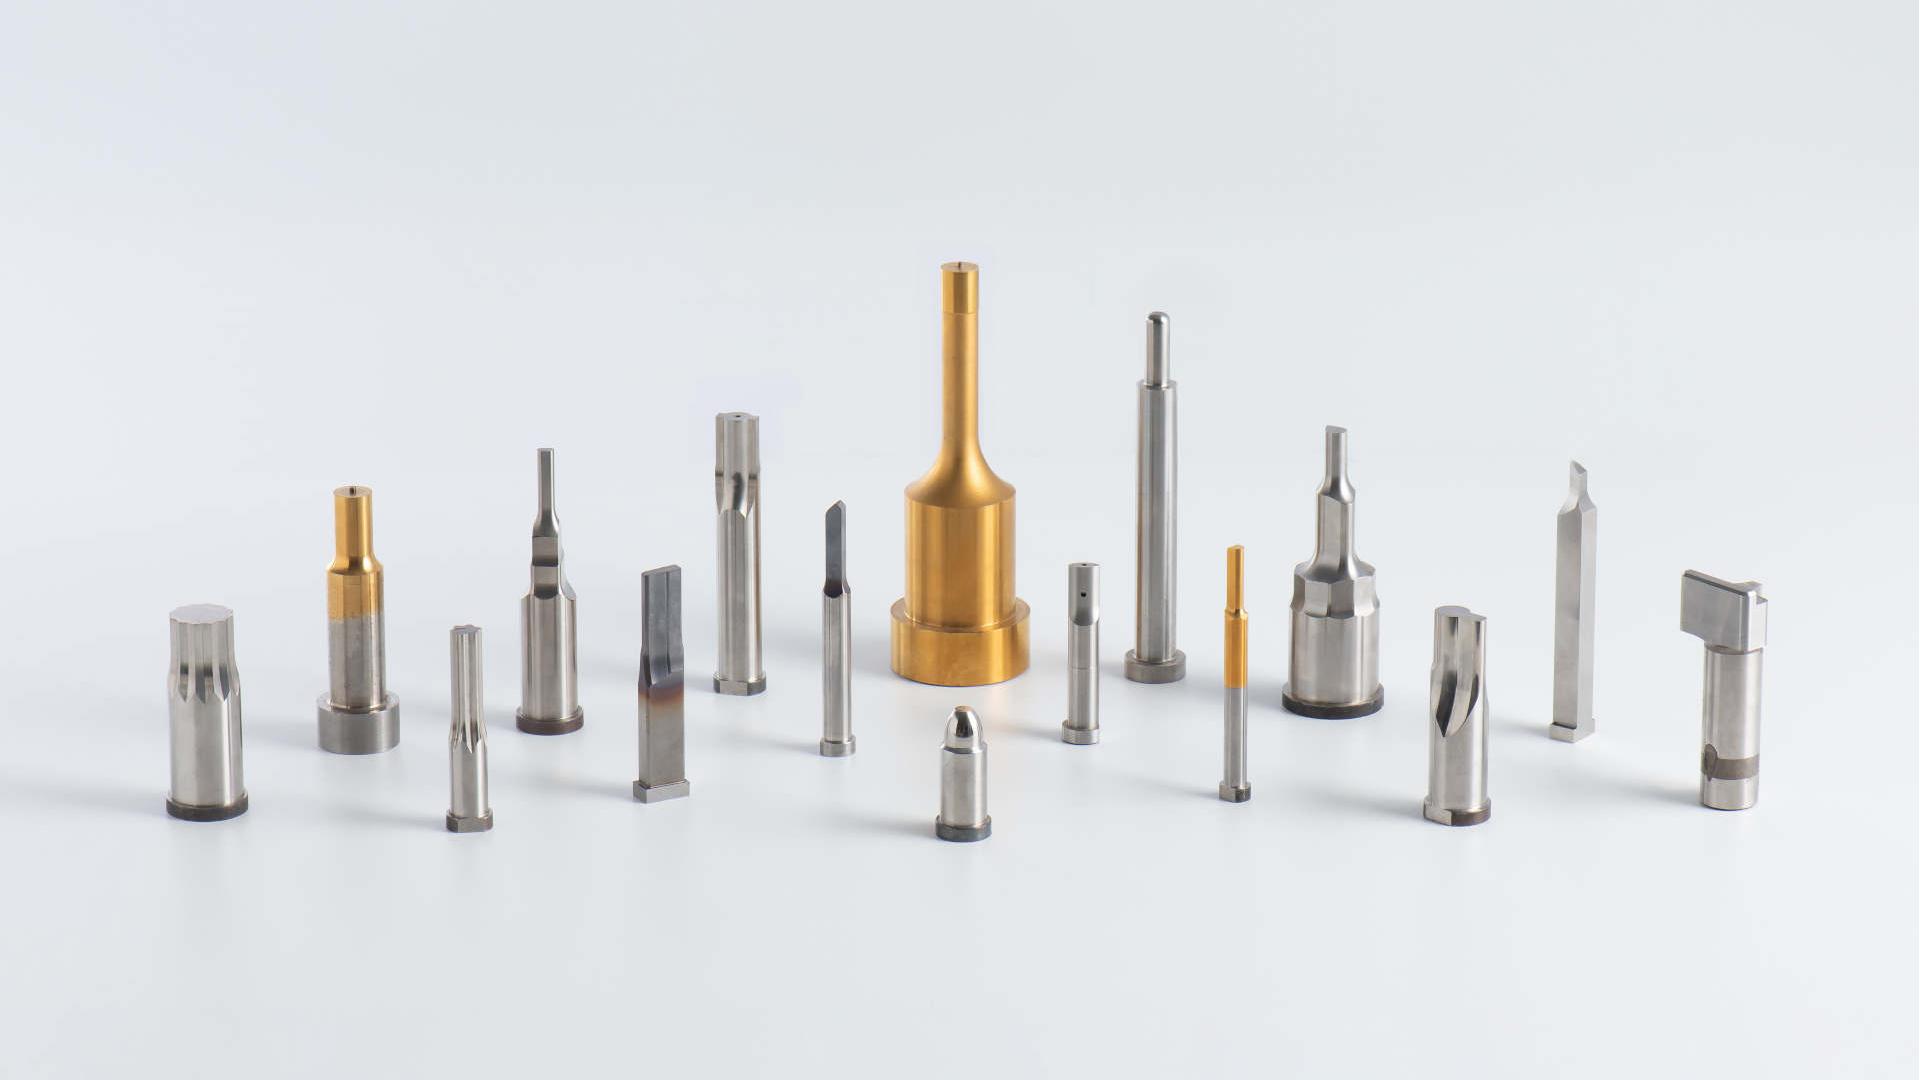
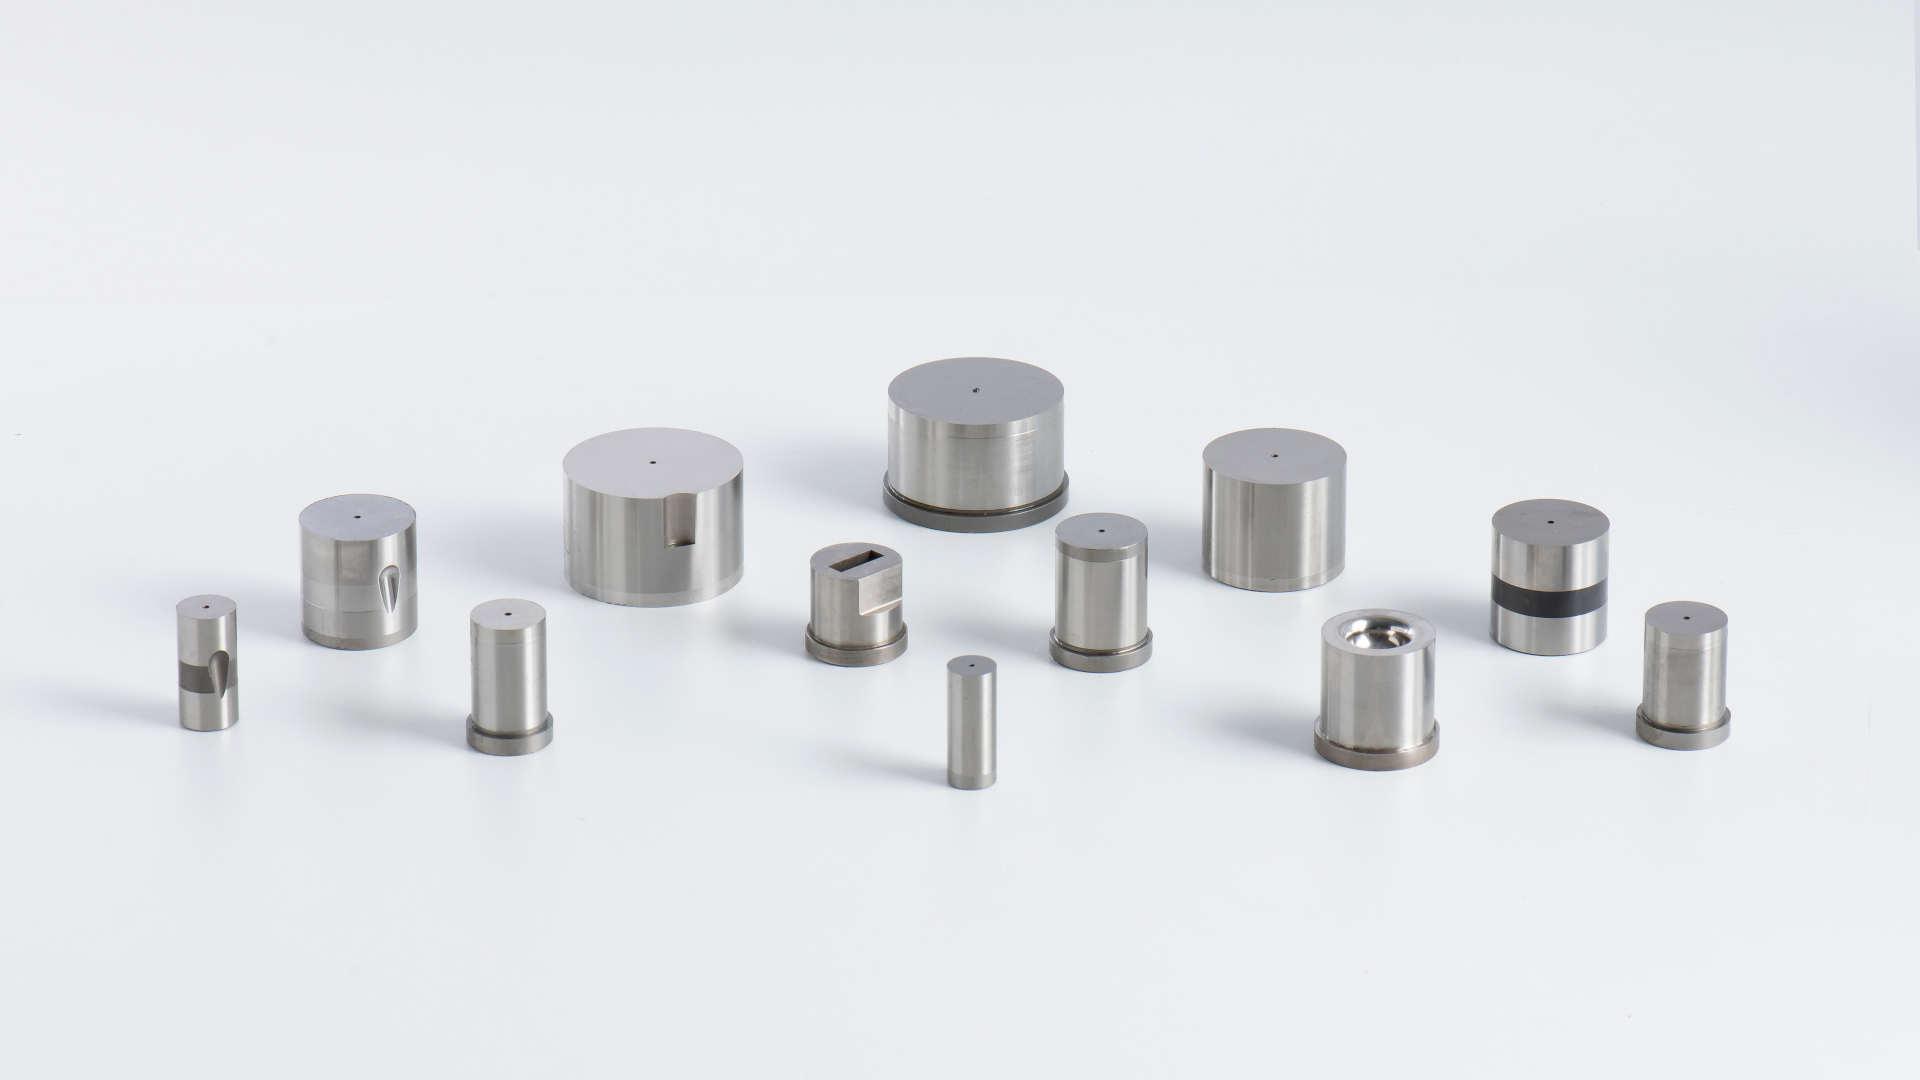
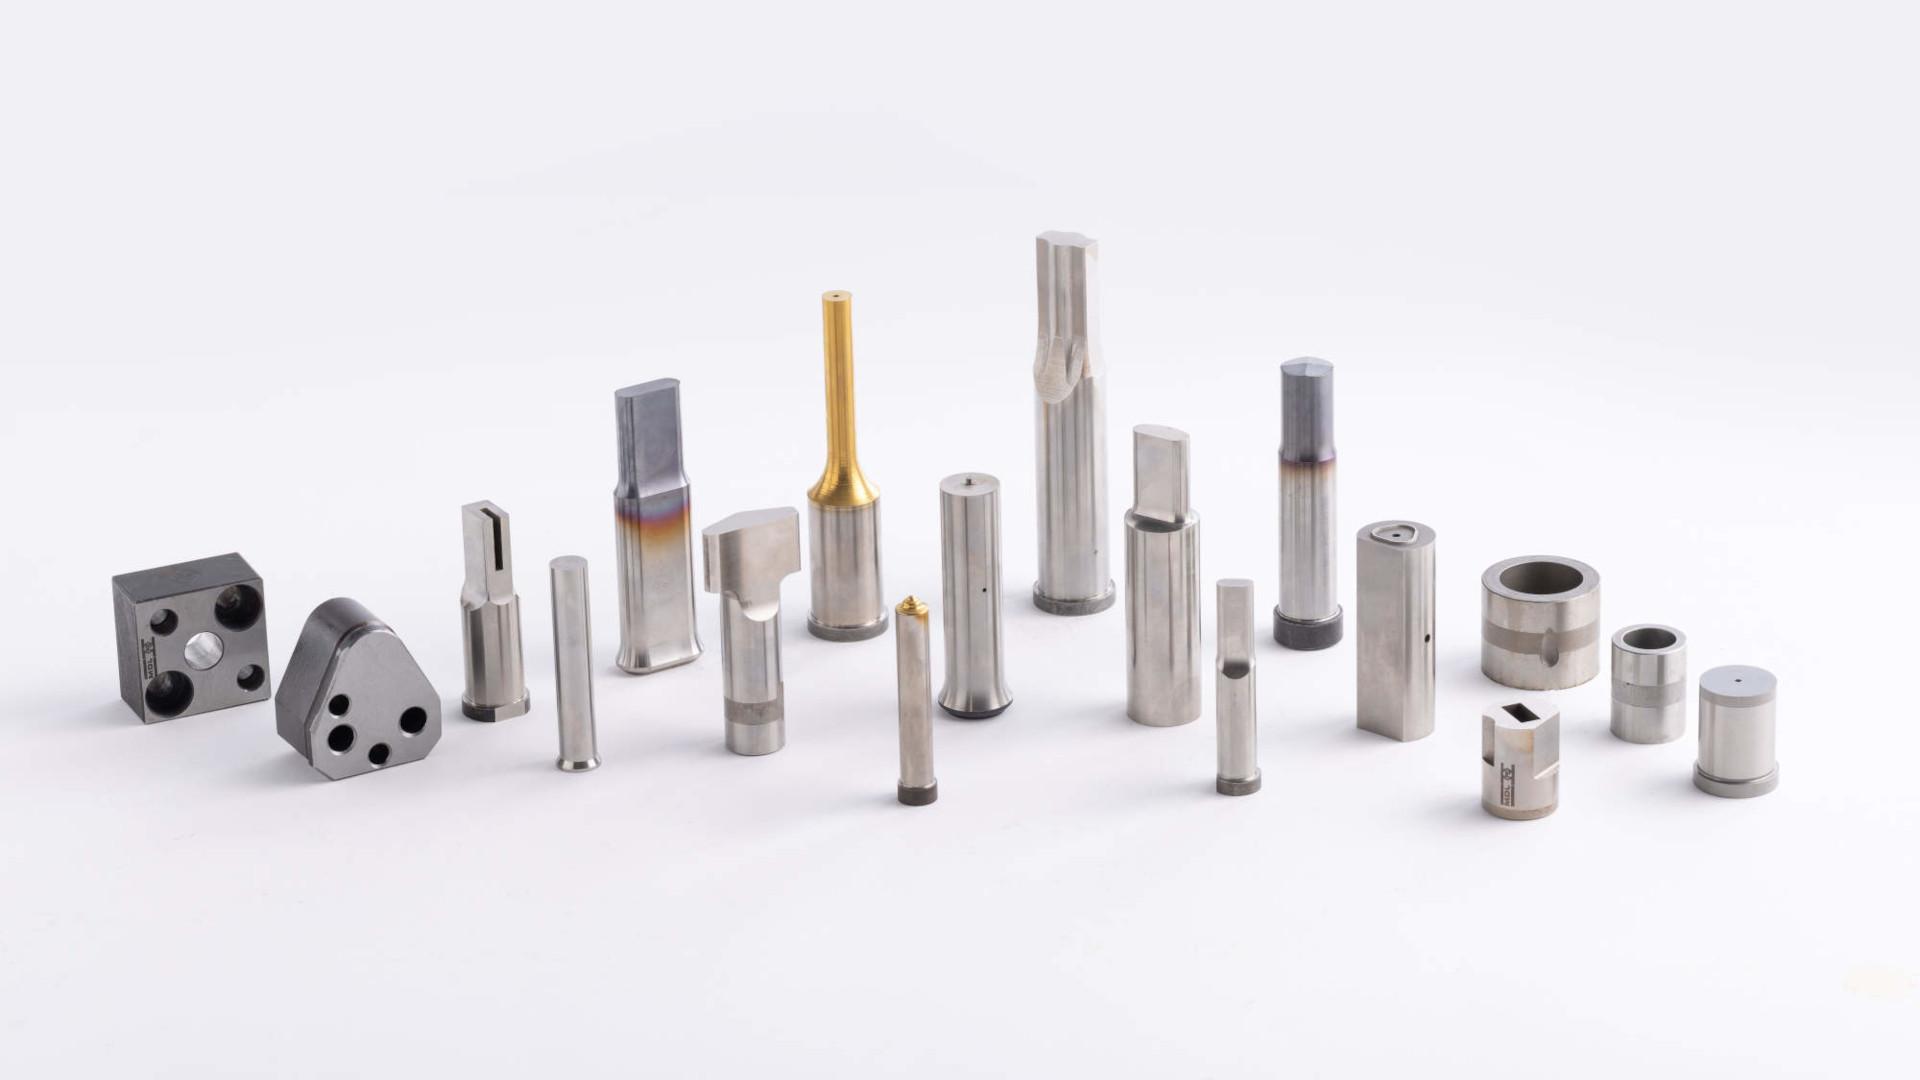
Punches & dies are critical components in press tooling. They ensure proper cutting, bending, and forming of your parts, guaranteeing quality, precision, and efficiency. With over 16,000 in stock blanks tailored to your specifications, we offer a diverse range suited to your needs, available in our 6 standard shapes or custom-made according to your drawings. Whether you need standard or custom-made punches, we are a reference partner.
Our clients testify
Our Configurator
The AMDL standard elements configurator allows you to define your product and request a price online
It encompasses all our products, guide elements, springs, die sets, punches and dies, as well as accessories! Quick and simple, in just a few steps, the configurator helps you save time with your cost inquiries.
Our sales team is available 5 days a week to address your questions and requests within 24 hours.
Our configurator is currently in development. It will be available soon!
CAD
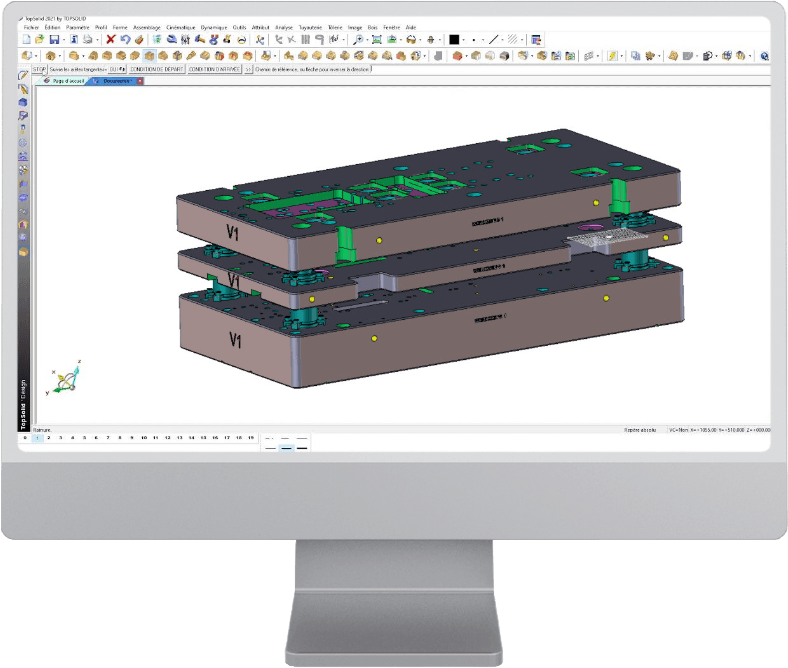
Access freely and download the CAD and 3D models of our various standard element lines on the Partcommunity platform.
To process your requests, we handle your plans in the following CAD formats:
TOPSOLID Design (Missler)File reading interface: CATIA V5, IGES (2D and Spatial), STEP, PARASOLID
ESPRIT CAM ProgrammingFile reading interface: CATIA V5, IGES (2D and Spatial), STEP, PARASOLID, SOLIDEDGE, SOLIDWORKS, VDA, ACIS, INVENTOR, STL, DXF, DWG
Standard Shapes
All our references and sizes of punches and dies in the catalogue are kept in stock and machined according to your needs in one of our 6 standard shapes:
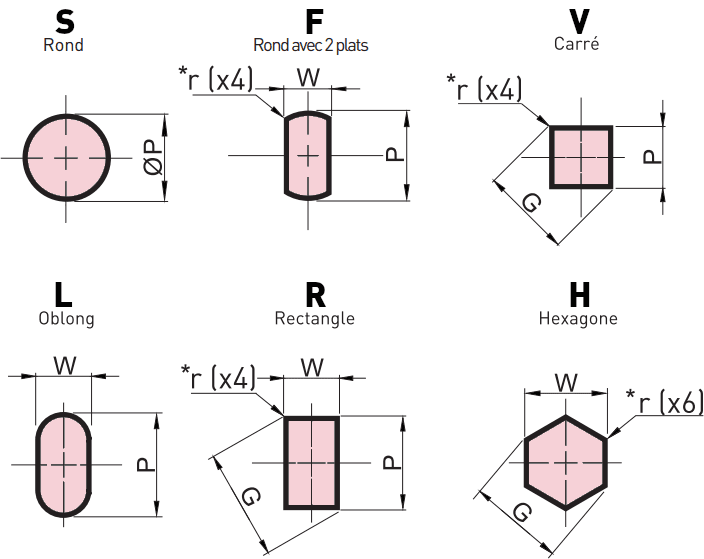
If our standard shapes don't meet your needs, we also offer special shapes that you can find in our catalogue. We also produce custom-made pieces according to your drawings!
Standard modifications
In the catalogue, we offer standard modifications to further customize certain parameters of the punch to make it more efficient for specific applications.
Coating on Demand
We apply coatings to our punches as needed. Coatings on punches increase the hardness of the working part and reduce friction coefficients during cutting, thereby extending the punchesapos; lifespan.
Some coatings are more suitable for certain applications and materials. Here is a list of the most commonly used coatings:
- TIN: Hardness (HV 0.05) 2300 - colour: gold yellow - Thickness (in microns) 2 to 4.
Application: Cutting low mechanical strength steels. Also allows easy wear detection. - TICN: Hardness (HV 0.05) 3000 - colour: blue grey - Thickness (in microns) 2 to 4.
Application: Cutting stainless steel. - CrN: Hardness (HV 0.05) 1750 - colour: silver grey - Thickness (in microns) 2 to 4.
Application: Cutting copper alloys. - ALCrN: Hardness (HV 0.05) 3200 - colour: blue grey - Thickness (in microns) 2 to 4.
Application: Cutting high-strength steel. - ta-C: Hardness (HV 0.05) 5000 - colour: black - Thickness (in microns) 1.5 to 3.
Application : Cutting aluminium and composites.
We also apply any other coating on demand.
Possible modifications
We offer various blank modifications:
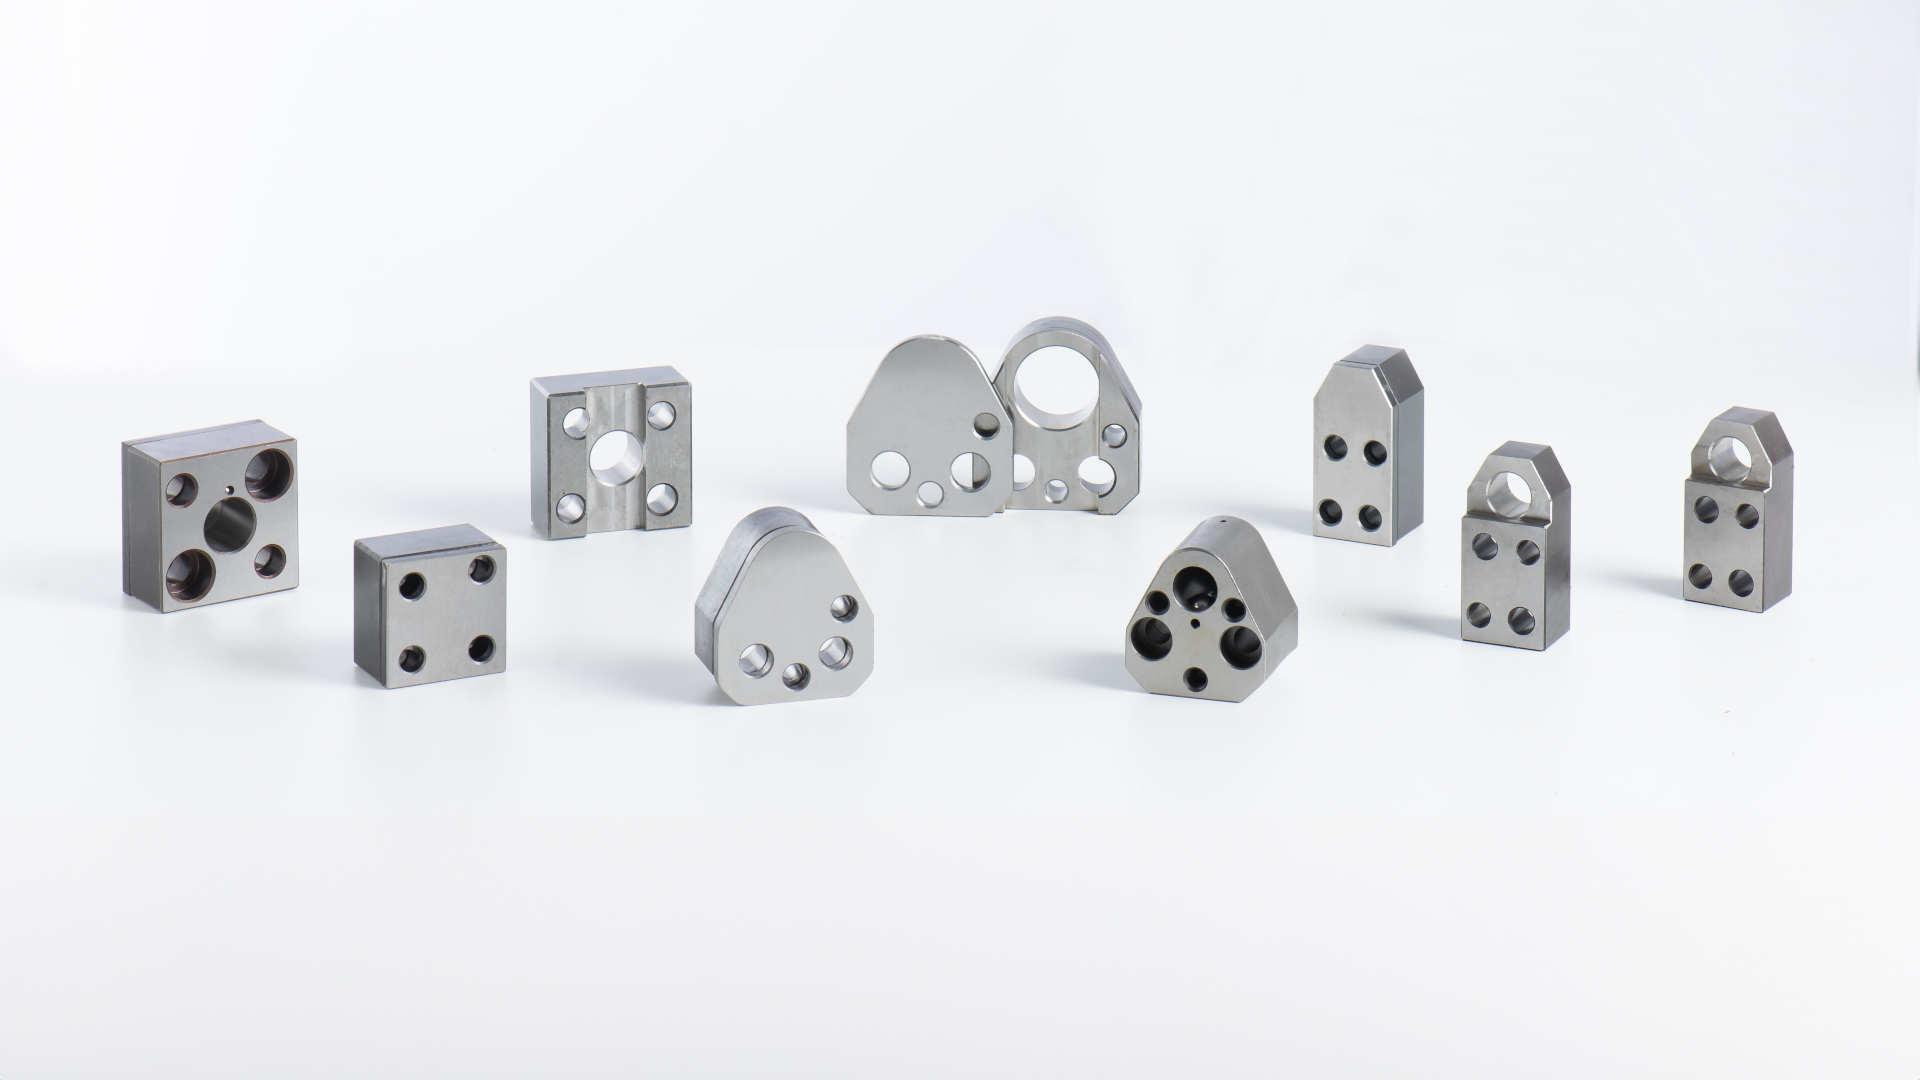
- Orientation plate: Orientation plates provide a fixed orientation for the shape of the punches or dies. We offer different standard orientation plates.
- Pinning orientation: Pinning orientation allows the orientation of the punches or dies using a pin positioned on their head or body.
- Tolerance modifications: We can modify the tolerances of our punches and dies as needed to adapt them to specific requirements. We modify length, diameter, shape, or head thickness tolerances.
- Dimensional modifications: We perform requested dimensional modifications such as head thickness, head diameter, tip chamfer, or fillet radius for punches. For dies, we can adjust collar diameter, clearance diameter, draft angle, working height, and reduction of collar thickness.
- Serrated edge creation: On punches, we can produce different serrated edge designs as needed.
- Waste retention: We can create waste retention grooves on dies. These grooves help retain and prevent the waste from rising.
All these operations are standard at AMDL and have their own catalogue code. If this doesn't yield the desired piece, we also handle all special requests.
Custom Punches and Dies According to Plans
For your non-standard needs, we manufacture all your special punches and dies according to your drawings. With our machinery, we can perform all the necessary operations for the production of complex punches and dies. The production process is as follows:
- Our sales team receives your project along with your plans and specifications by email.
- Our technical team studies the feasibility, provides advice, and prepares the quote according to your needs.
- We send you the offer and remain available for any questions or changes to the projec.
- Once the offer is approved, we create all machine programs internally to produce your parts.
- We then precisely machine your punches and dies, paying attention to every detail.
- Your punches and dies are packed on custom pallets and delivered to you.
This proven process ensures compliance with deadlines and quality, as well as high customer satisfaction. In addition to this, we remain available to you throughout the project and post-project period.
Cutting clearance choice
For the proper functioning of the punch/die set, it's necessary to have cutting clearance, which is the difference in diameter between the punch and the die. In most applications, the cutting clearance is 10% of the sheet's thickness.
Example: for a washer with an outer diameter of 16 mm and an inner diameter of 5 mm in a 1.2 mm sheet, the recommended cutting clearance is 0.12 mm in diameter.
The outer diameter (Ø16) is determined by the die, and the inner diameter (Ø5) is determined by the punch.
For the inner cutting of this washer, we will have a 5 mm punch and a 5.12 mm die.
For the outer cutting of this washer, we will have a 16 mm die and a 15.88 mm punch.
For applications on thick sheets and for materials that are considered "sticky" like aluminium, the cutting clearance will be reduced (5 to 8% of the thickness).
To visualise the cutting clearance of a tool (if it's not possible to measure the punch and die), you should look at the cut of the piece.
During cutting, we have a cut part (shiny part) and a torn part (non-shiny part). If the shiny part represents 1/3 of the thickness, the clearance is 10%. The higher the cutting thickness, the smaller the cutting clearance.
For applications on very thin sheets (less than 0.8 mm) or for precision cutting, the cutting clearance will be very small. It will require precise guidance on the tool. The use of Type 1 guidance (precision between the pillar and the bush) is recommended.


